


New Checkins View: Manage Visitors and Attendees in one place 🎉
What if we told you that you can now see all the people coming to avail any service at any given time, all in one place on the dashboard? No, we’re not kidding.
Introducing, new Check-ins & Attendee View!
-----
Over the last few quarters, we received a lot of requests from our customers for a better attendee management experience:
“Handling check-ins for individual schedules of classes, appointments, and events from our respective calendars is a lot of work”
“Scrolling through a list of attendees to check-in people takes too long and increases the waiting time at the facility.”
“Checking in a family takes time if there are members in the family.”
These were the critical points in the day to day operation of business admins.
We wanted to bring a one-stop solution and end unwanted hassles once and for all. Hence, we incubated the idea of Attendees View. Attendees View is a pit stop for all, and by all, we mean ALL the attendees that have scheduled a visit with your business (class/appointment/event/facility). The Attendees View page lists all these attendees, grouped by the services that they’re coming in for.
In simpler terms, imagine that you are managing the front desk of a famous yoga studio in your city, and you have a queue of more than 20 people wanting to check-in to various activities that they’ve booked with your studio. Attendees View makes this check-in process butter smooth. It allows you to:
- Check-in an attendee in a second.
- Search for a particular attendee with first and last name
- Check-in a person AND their family together with our bulk Check-in feature
- Filter attendees based on a specific schedule, and their check-in status (checked-in or not checked-in)
Omnify’s Attendees View saved the day by letting you check-in all those 20+ people into their respective services in less than a minute. Great job, you!
Let’s dig deeper into how this Attendees View is mighty & beautifully simple to use.
____________________________________________________________________________
Facelifted check-ins? There is much more!
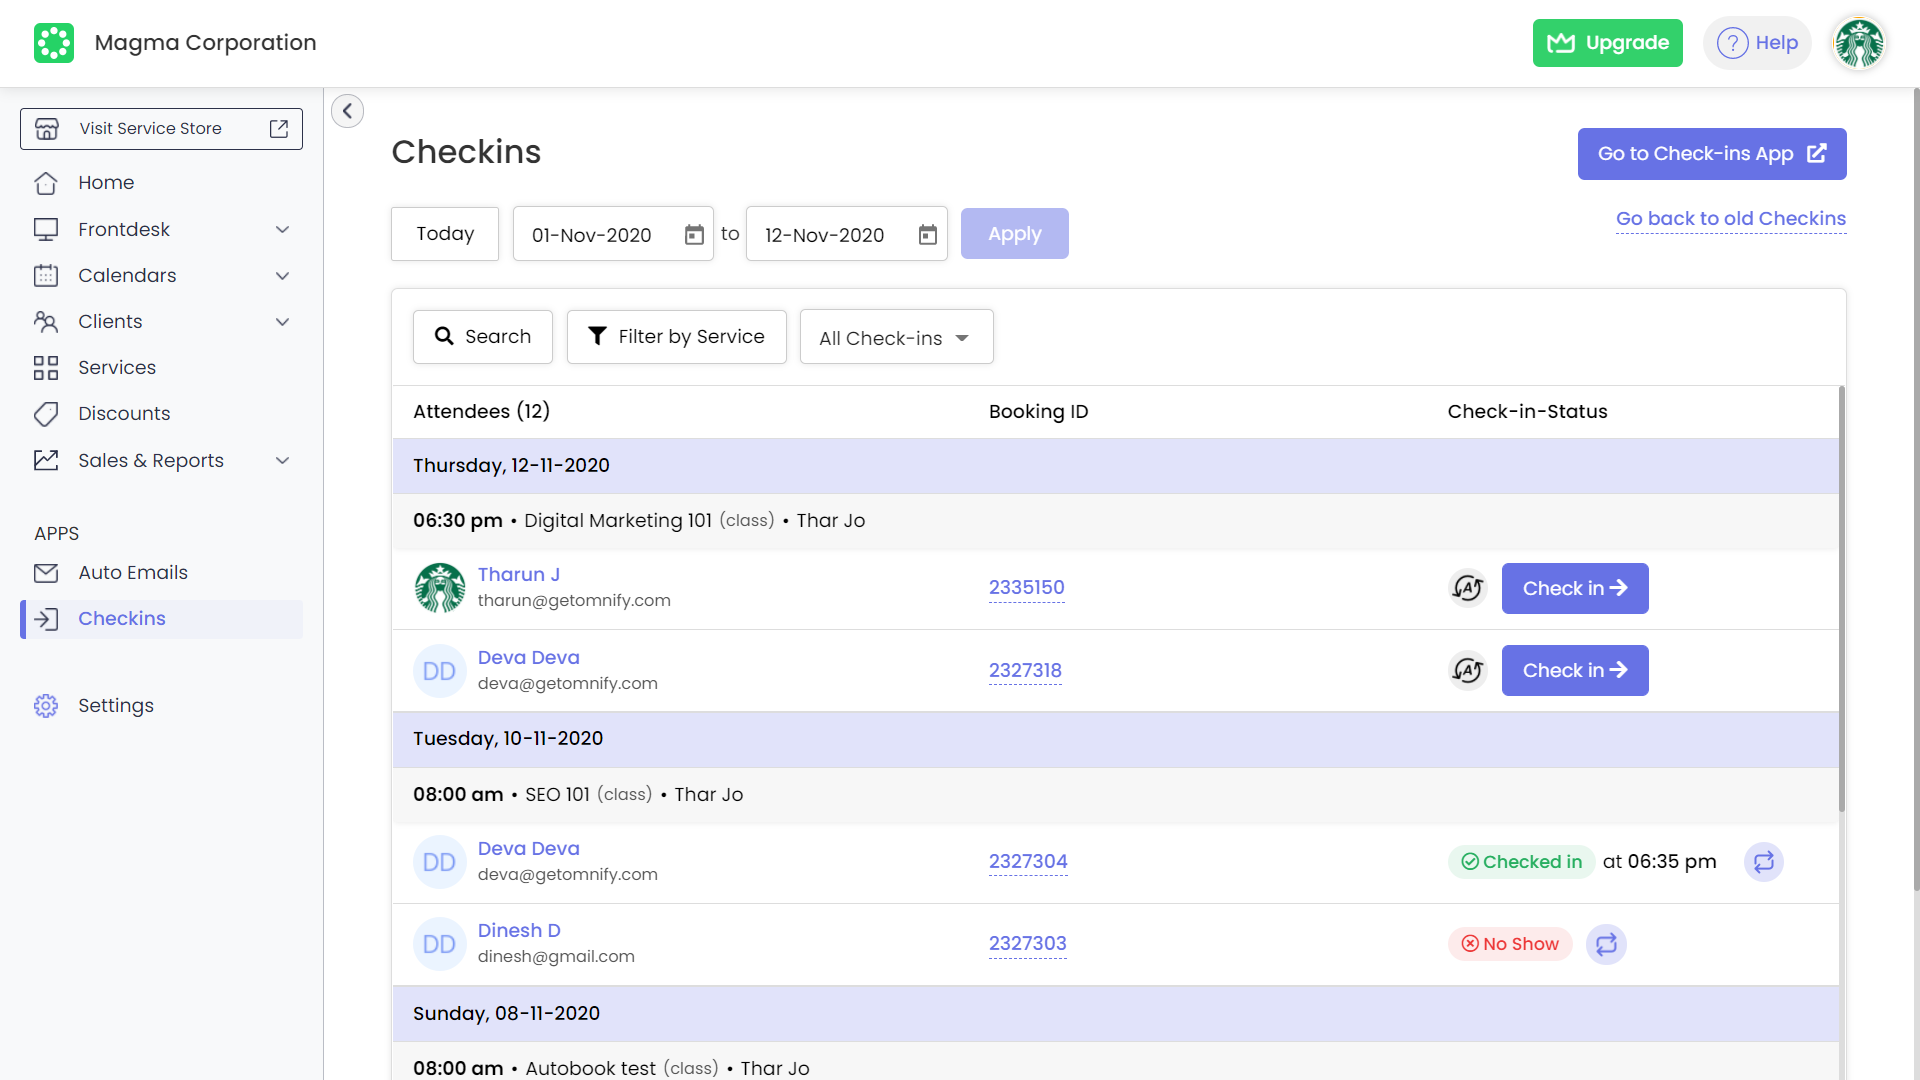
You might notice that we put the Attendees View right in the Check-ins tab in the Omnify dashboard from the screenshot above. The Attendees View has 3 columns - Attendees, Booking ID, and Check-in Status :
Attendees:
This column holds the attendee name, their image, and email address, all in a single row. Clicking on the attendee’s name takes you to the respective client’s profile page on the dashboard.
Booking ID:
This column shows the booking ID of which the attendee is part of. Note that all the attendees of a single Booking ID will have the same booking ID. Clicking on this ID opens up the invoice for this booking on the front desk.
Check-in Status:
This column shows the current check-in status of the attendee. At any given point, the attendee can either be:
Checked in (marked with green tag and a timestamp)
or
Not checked-in (marked as No Show with a red tag for past schedules, or a blue check-in button).
When not checked-in, you can mark the attendee as checked-in by clicking on the Check-in button.
Advanced Search
Searching for an attendee is a whole lot easier and faster now. Search results populate in the dropdown with attendees’ email addresses to make selection easier. Once selected, the searched attendee is shown in a card, along with their family members. The attendee table list populates based on the search result. Coming to the best part - clicking on the toggle to “Show family member bookings” shows all the bookings made by the searched attendee’s family! All family bookings in one place.
That’s not all. Clicking on the family members’ tile opens up a pop-up that shows all the family members in one place. Clicking on any of the members here takes you to that client’s profile on the dashboard.

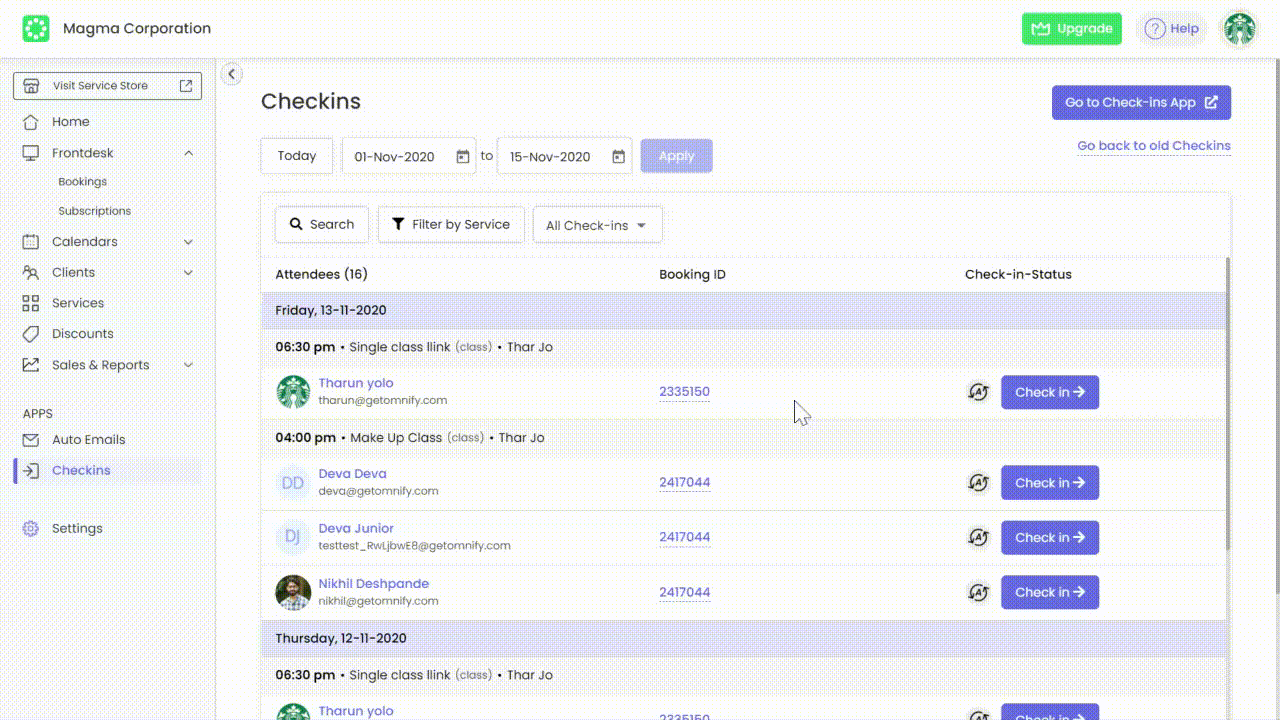
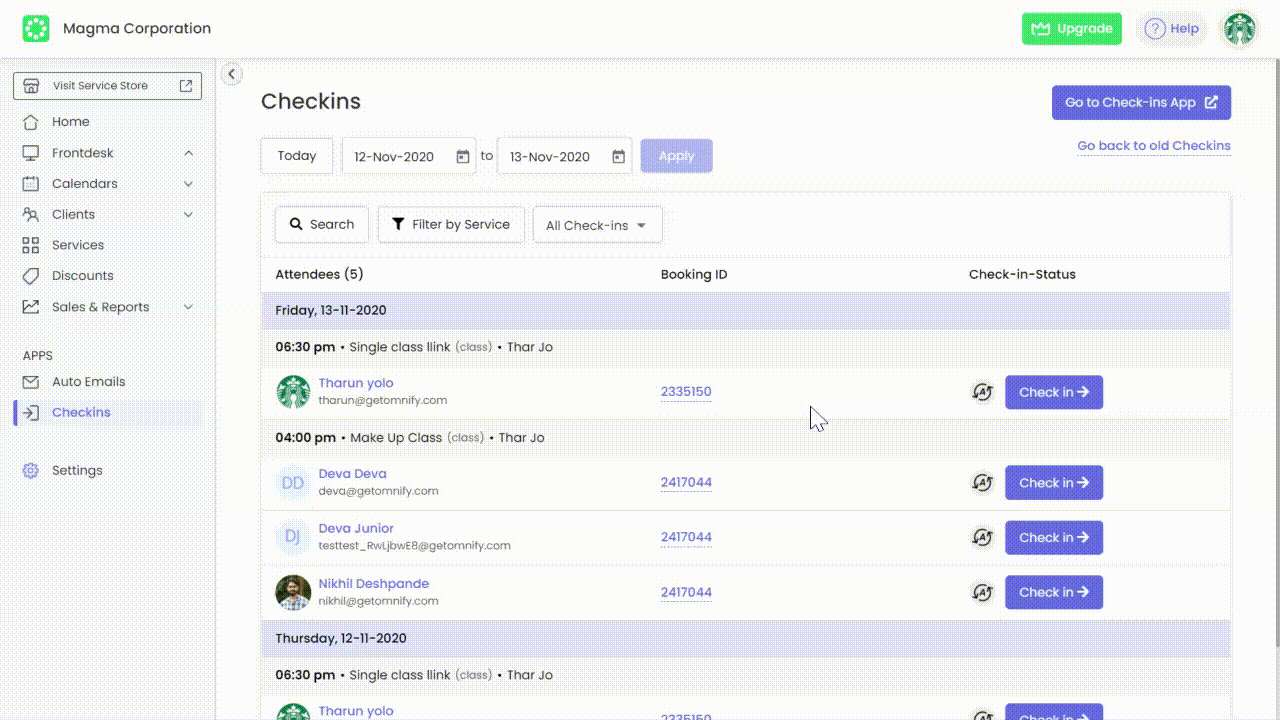
Filters, and other features
You can have a more specific view of attendees by using filters. You can filter by services or by the check-in status of an attendee. To top it all, you can filter by a date range.
Filter by Service:
This filter allows you to sort the list of attendees by a particular schedule. Clicking on this filter opens up a pop-up where you can select one or more services to filter the attendees. Once selected, you can also remove the filter to return to the original view.

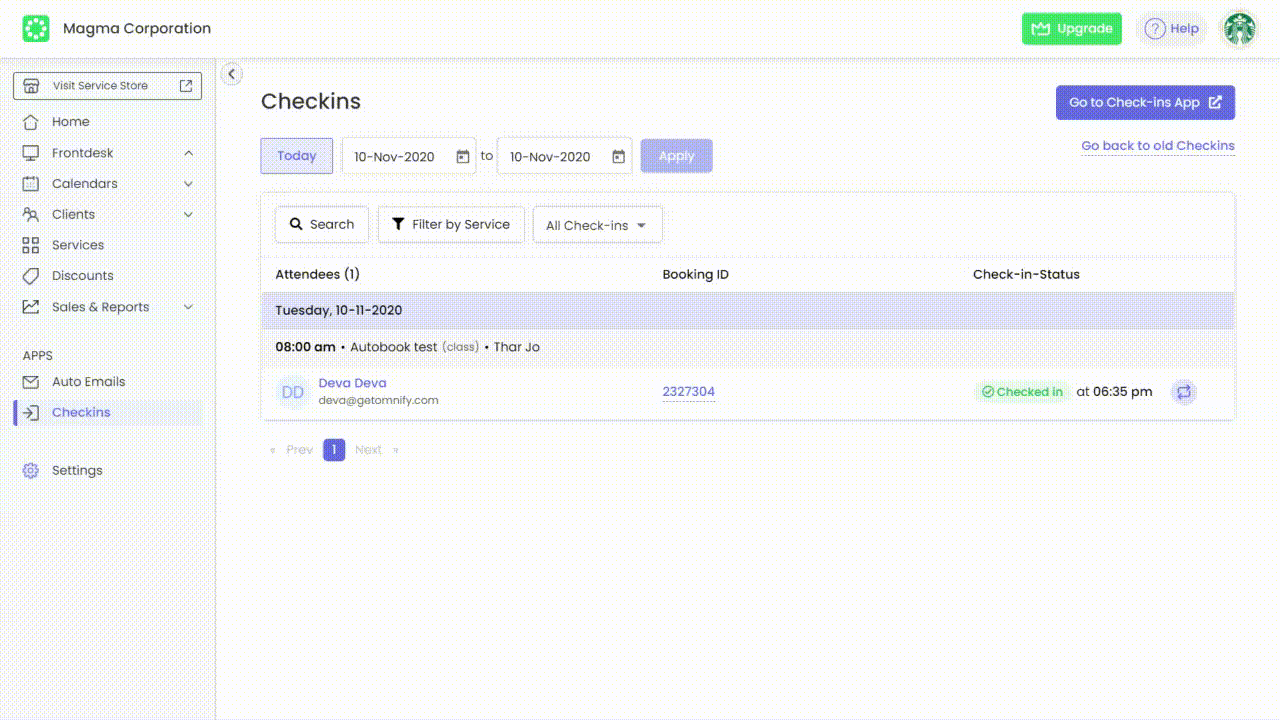
Filter by Status:
This filter allows you to sort attendees via their check-in status. Checked-in and Not checked-in are the two statuses that you can filter the attendees into. To return to the original state, you can select the All check-ins option in the dropdown.
Bulk Check-in:
Selecting the “ Not checked-in” status in the above filter opens up the Bulk Check-in option. Not checked-in attendees can be selected and checked-in all together by clicking the “Check-in” button in the Bulk Check-in state on top. This state is represented by a blue band spanning across the page, above the list header.
Date Range filter:
Last but the most important filter is the date range filter. This filter allows you to pick a start and an end date, in which the attendees are shown. The max date range in which the attendees can be populated is 90 days.
All done for now!
Can’t wait for all of you to use this and tell us tales of how it has made your operations a gazillion times easier. Do share your feedback with us.
With love, Team Omnify.
Omnify's new Attendee View improves attendee management with one-stop check-ins view, new search filters, & bulk check-ins for easy admin operations!